Thursday, July 31, 2014

July Book Wrap-Up!


Hello everyone! The month of July, was kind of a lazy reading month for me, but I am absolutely obsessed with the books I did read, and thus we have the July Book Wrap-Up! I dove into the Chemical Gardens trilogy, and when I say dove in, I mean completely and utterly became obsessed with and couldn't think about anything else except for these books.


The first book in the series is Wither, and I actually borrowed this book from my friend because I had seen an ad in Seventeen magazine about it a year or so ago. I had made no progress in reading, but I decided to take this book with me in case I got the chance to read on my mission trip. I decided to risk reading it on the bus, knowing full well that I could get sick, and I was hooked instantly. 
This world is so creepy and messed up, and I absolutely love it! If you haven't read this book, read it now. I honestly am so impressed with how easily Lauren DeStefano weaves Rhine's world and makes you fall in love with her.
Wither is the story of Rhine Ellery and the world that she lives in, where woman die at twenty and men die at twenty five. As you can imagine, this leaves America in a panic and crime is abundant. Now I will say, the book does have polygamy in it, and my friend's mom had a problem with that, so that may hinder your experience. However, DeStefano clearly sets this apart as another one of the crazy things that the world has turned to in an attempt to save itself, so if you do not agree with polygamy, you could always just view it as another oddity in this strange future world.
Rhine is such a beautiful character, and I love how Lauren tackled her. She is unaware of how unimportant she is, but it is handled in a way that makes it not annoying, if that makes sense. Characters like Tris from Divergent and Bella from Twilight always bothered me slightly, because their ignorance to their importance always seemed to be shoved in my face, like that made them a great person or something. Lauren doesn't focus on this lack of observation, but she is able to point it out in a way that seems more human than I believe those other two writers did.
Also, she is reckless like Tris, but it seems to me that she acts with just a little bit more thought. Not much, but her recklessness didn't seem as unjustified, maybe? Not really sure what word I'm looking for here, but my point is, that while Rhine and Tris are similiar, I love Rhine so much more. (Somehow this turned into bag on the Divergent series, so I am taking this time to say that I love Divergent as well, I just never liked Tris... Sorry...)


Fever is the second book, and I was just as in love with this book as I was with the first, which is rare. This book was basically one big foreshadowing for the third book, and as a English nerd, I was freaking out! I am obsessed with all of the imagery and the thought that went into placing these events, and I can't say anymore because I don't want to spoil anything, but everything is so well placed and flows so fantastically!
Thanks to the public library for caring the last two books. I appreciate it.


The last book in the series is Sever, and this was probably my least favorite of the three. I was just as in love and obsessed with this book as the other two, until the very end... I felt like a lot of new information was added towards the end, and then I didn't get all of the answers or as much as an explanation as I wanted. I felt like I was missing a lot, and that bothered me. Both deaths, (not saying who), at the end didn't satisfy me in the slightest, and I was left more confused than I think the author meant. One of them was totally upsetting, and the other just didn't give me the satisfaction I wanted. I feel like they just sort of happened, and then that was it. 
Never the less, I would still give this book a 4.5 out of 5, because it really was great for the most part.

I am in love with this series, and I can't say that enough. I ship Linden and Rhine so hard, and I know that may be unpopular with some people, but I just can't help it. Gabriel and Rhine just don't do it for me.

And because I am obsessed beyond belief, I did my best to channel my inner Rhine, and tried to duplicate the cover look.


I've never done the down-trodden look very well, so I added a smile for good measure.


Dress: Kohls

My hair wouldn't keep the unkempt look, but overall I was pretty impressed with my replication. Also, I'm really loving the pink eye shadow. My camera doesn't do it justice, but I felt pretty good in it. A little daring if you will.

That's it for my July Book Wrap-Up! If you've read this series, please fangirl with me below in the comments. I really would love to hear other people's take on them.


Saturday, July 12, 2014

Embossed Jars: July DIY Week


This is my last post for July DIY week. I've accomplished more in this week than I have all summer, craft wise, and I have to say that I'm pretty happy about it.
Today's post is another Pinterest find, and I have to say it was a lot easier than I thought. I have terrible hand writing, so I was certain I was going to hate the way it looked, but I think it turned out pretty good!


What You Need:

Glassware
Hot Glue Gun
Wax Paper
Spray Paint


First you take your hot glue gun and draw whatever it is you want embossed n your glassware. The original post had even gone as far as to create a pattern, but I didn't think I had the artistic capabilities to conquer that one, so I went with a heart, my initials, and my insignia.


Once that has dried you spray paint the glassware! After that dries your done and you have unique and pretty cool glassware.


I'm really excited to incorporate these in my rooms, especially the white one. I think it turned out the best overall, and it's a neutral so it will go with anything, anywhere. How great is that?


Beach Art: July DIY Week


Hello there! This was actually supposed to be yesterday's DIY, but I dropped the ball, so I will be posting two DIY's today. First up, we have my take on a simple piece of summer-themed art! I came up with this idea myself, and I have to say I'm pretty proud of it.


What You'll Need:
Paint
Poster Board
Foam Brushes
(I tried to use shells but it didn't work. If you can figure out how to make that happen, please do and share it with me.)


I started off by taking the "gold" (it was really more like dark yellow) paint and covered the bottom of my foot. I then stepped on the poster board, leaving it there for a few seconds, and then stepped off of it. I then repeated this step for the other foot, placing the second foot print ahead of it slightly so that it looked like two foot prints in the sand.


I then experienced my fail with the sea shells, so instead of having a shell pattern around the foot prints, I decided to opt for swirls, that represent the water instead.


And that was it! So easy and I think it really adds a bit of summer to my room. I'm not a skilled painter by any means, so being able to do something as simple as this allows me to sort of live out that fantasy that I could actually be an artist. 


Thursday, July 10, 2014

Upgrade your flip flops: July DIY Week


I obviously really like shoe DIYs.... opps. Today's post is actually a back up DIY, because the first one fell through. I needed someone more skilled to do it for me... But never-the-less, I really love this easy, and cute, way to fix-up your flip flops. Plus it's something that you can remove if you want to wear your flip flops without it.
I originally saw this on Pinterest but followed the DIY here!


What you need:
Flip flops
Scissors
Scarf


Fold your scarf in half, like a hot dog, and cut down the fold.


Then take one of your halves and fold it in half, hamburger style, and twist it just enough to break up the squareness of the scarf.


Loop your scarf through the straps. Then tie the scarf in a not around it and then take the two ends and separate them towards the two different straps.


Loop one end of the scarf around the corresponding strap until you cover all of it.


Once you reach the end your done! Tie the remaining fabric around your ankles and love your newish sandals!


Wednesday, July 9, 2014

Upgrade Your Table: July DIY


This DIY came about because I actually loathed the finish on this sewing table. The color was dark and drab, making it unpleasant to look at. I decided to step up it's game with just a simple paint job.


The cool thing about wood veneer is, that as long as the finish is still in good shape, all you have to do is a sand and prime it just like you would with regular wood.


After taking out any hardware, we sanded the entire outside of the sewing table with an electric sander. There were some spots on the table that had swelled due to water damage, so we made sure to pay extra attention to them as we were sanding.


We decided to forgo priming the table, and instead used the first coat of paint as a substitute. 


After applying the first coat and letting it dry, we used wet sandpaper to get rid of any hairs that the brush left behind. This allows you to get rid of any minor defects with out messing up the paint.


We then applied the second coat and allowed this to dry overnight.


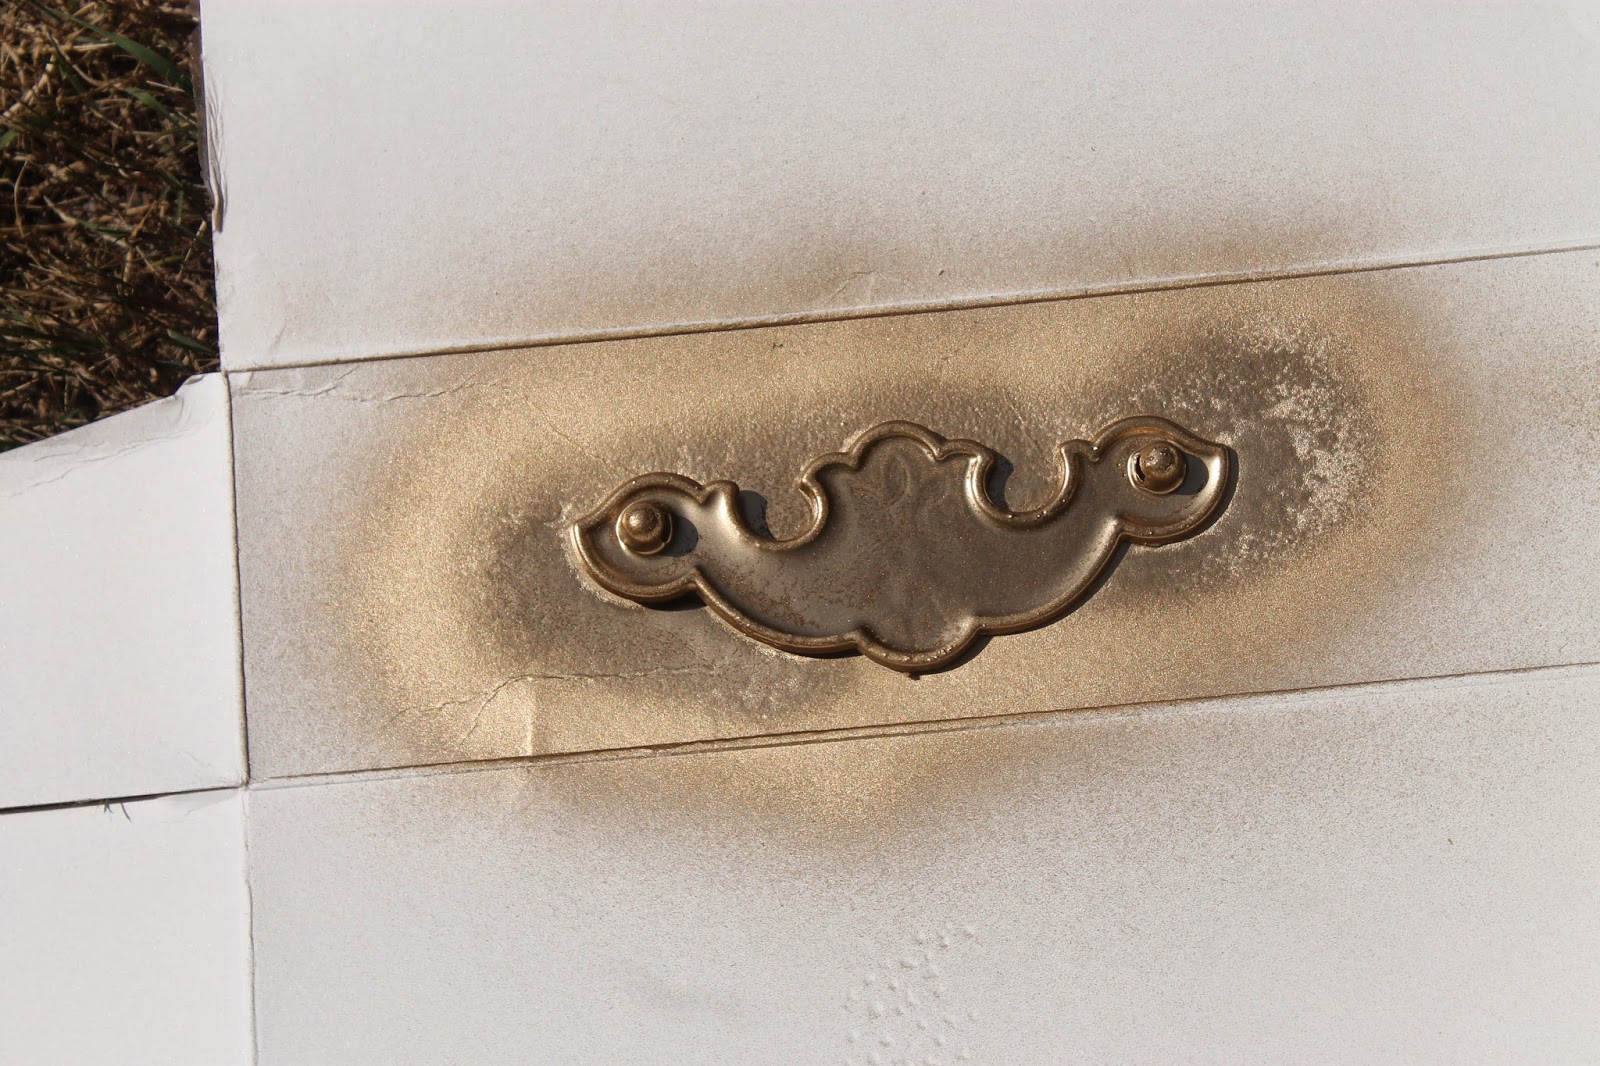
 I then took the hardware that we had removed earlier and spray painted it gold. As I said earlier this week, I am obsessed with gold, so of course I choose to spray paint the hardware just that.


I also think that the gold works better with the color scheme. It gives it that extra something. 


The next day I went to work painting the legs white. I liked the idea of different colored legs, because I thought it created a nice breakup in color. If the entire table had been completely coral, I think it would have been dull and monotonous. 


After the legs dried, I put the hardware back in, and that was it! It's such an easy upgrade, that can add a lot to a room. These colors are so much warmer and exciting than the original finish, and this is a sewing table that I will proudly take in my room.


Tuesday, July 8, 2014

Ombre Shoes: July DIY Week


On the third day of this DIY week I knocked off another craft on my Pinterest board, and I am really excited about how these turned out. The original DIY can be found here.


What you'll need: White cotton shoes
Dye
Vaseline
An old toothbrush or bristled brush
A tub
Salt
Baking powder


First you need to prepare your shoes, by first taking out your laces and anything else that is removable. Then to keep your soles white, put a thin layer of Vaseline on them, just enough to create a barrier in between the rubber and the dye. Make sure you don't get Vaseline on the sides. It will leave spots, as seen on my final product. (My mom suggests using the Vaseline to create a pattern on the shoes. I think this is her way of making me feel better for my mistake...)
Then wet your shoes. They only need to be damp.


You then need to prepare the dye by following the instructions included with it. This is when you will use the salt if it is needed.

Then take you shoes and dip them about three thirds of the way into the dye. Continue this step staggering the level of your dip creating the ombre effect, this will make the tip of your shoes the darkest and the heel the lightest.


Next take a damp cloth and gently rub away any harsh lines and marks. If you need to dip the cloth into a cup with a diluted mix of the dye.


When you're happy with the color allow the shoes to sit for five minutes and then rinse them out in the sink until the water runs clear. Then hang them up to dry overnight. (I decided to go the ratchet route and tied them to the old toilet paper holder in the laundry room...)


When your shoes are dry you can remove the Vaseline by putting a little bit of baking powder around the sole. Using a toothbrush or bristled brush to scrub, the Vaseline should start to roll away in balls. Continue scrubbing until it's not longer tacky to touch.


And then you are done! I think these are to cute and simple for the most part to make. The dip dye effect is perfect for summer, and is a fun way to keep color in your wardrobe year round.